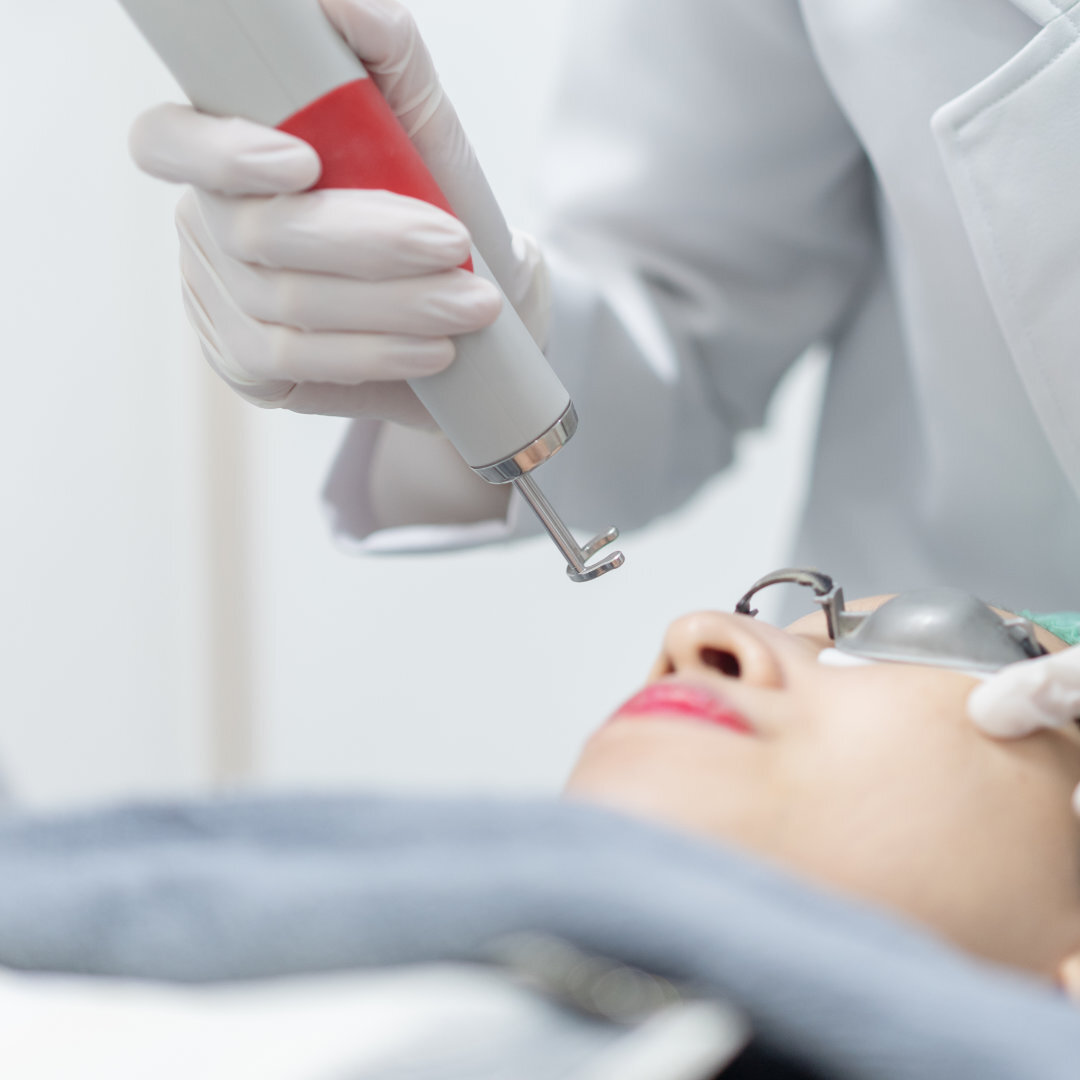
CO2 Laser Resurfacing Pre & Post Treatment Instructions
Prepare for a recovery period of 3 to 7 days following the procedure

Essential Pre & Post-Treatment Care for Optimal CO₂ Laser Results
CO₂ laser resurfacing is a highly effective treatment for rejuvenating skin, reducing scars, and evening out skin tone. To achieve the best results and ensure a smooth recovery, it’s essential to follow specific care instructions both before and after the procedure.
This guide provides a step-by-step outline to prepare for treatment and support your skin’s healing process, minimizing discomfort and maximizing the benefits of your CO₂ laser experience.
Required Items
You will need the following items for your treatment:
- Paw-paw Healing Ointment
- Cetaphil Gentle Face Wash
- CeraVe Face Moisturiser (for use after the Paw-paw Ointment is no longer needed)
- White Vinegar
- Square Gauze Pads (for vinegar soaks)
Optional Items
Consider having the following items on hand to enhance your comfort during recovery:
- Paracetamol (for pain relief)
Important: Avoid using Ibuprofen and Aspirin for 24 hours following the procedure. - An Antihistamine (to help manage any allergic reactions or itching)
- Ice Packs (to reduce swelling and soothe discomfort)
Make sure to gather these items before your treatment to ensure a smooth recovery process.
Home care is very important after your CO2 Laser Treatment. Please closely follow the instructions below:
TREATMENT DAY

Prepare for a recovery period of 3 to 7 days following the procedure.
- Managing Discomfort:
- Post-treatment discomfort is generally minimal. However, if you experience discomfort, you may use over-the-counter pain relievers such as:
- Paracetamol
- An Antihistamine (to help with swelling and itching)
- Initially, the treated area may feel similar to a sunburn and will gradually become tight and dry.
Important: Avoid using Ibuprofen and Aspirin for 24 hours following the procedure.
- Post-treatment discomfort is generally minimal. However, if you experience discomfort, you may use over-the-counter pain relievers such as:
- Handling Swelling:
- Swelling is a common, short-term response. To help alleviate swelling:
- Apply a cold compress or ice packs to the affected area.
- Be prepared for swelling to be most pronounced upon waking, particularly around the eyes and mouth.
- Swelling is a common, short-term response. To help alleviate swelling:
- Sleep Position:
- To minimise swelling, sleep with your head elevated on pillows, keeping it above the level of your heart.
- Medication Compliance:
- If an antiviral medication has been prescribed, continue taking it as directed.
- Healing Gel Application:
- Ensure that treated areas are consistently covered with healing gel at all times to promote optimal healing.
- Ensure that treated areas are consistently covered with healing gel at all times to promote optimal healing.
POST TREATMENT DAYS 1 - 3

Avoid direct sun exposure and tanning for at least 2 weeks prior to your treatment.
Cleansing
- Hand Hygiene:
- Always wash your hands thoroughly before touching your face to prevent infection.
- Cleansing Routine:
- Starting the morning after your treatment, gently cleanse the skin three times a day using plain, lukewarm water and a gentle cleanser, such as Cetaphil Gentle Cleanser.
- If the gentle cleanser does not effectively remove the ointment, you can use a vinegar solution for cleansing.
- Vinegar Solution:
- To prepare the vinegar solution, mix 1 teaspoon of white vinegar with 1 cup of water.
- Apply this mixture to the area using a sponge or spray bottle, then rinse off gently with lukewarm water.
Vinegar Soak
Purpose: White vinegar soaks are effective for cleansing and soothing the treated area.
- Preparation of Vinegar Soak:
- Mix 1 teaspoon of white vinegar with 1 cup of water to create your vinegar soak solution.
- Important: Do not exceed this amount of vinegar, as the acidity level is crucial for effectiveness. If you experience any burning sensation, you may reduce the vinegar to less than 1 teaspoon per cup of water.
- Application:
- Soak a square gauze pad in the vinegar solution for 5 to 15 minutes.
- After soaking, gently apply the gauze to the affected area.
- Benefits:
- These soaks help alleviate pain, dissolve residue, and provide antimicrobial properties to reduce the risk of infection.
- Vinegar soaks can be performed every few hours as needed.
- Optimal Timing:
- While soaks can be done at any time, they may be particularly effective after your shower or after washing your face, just before reapplying CeraVe Face Moisturiser.
Moisturising
- Application of Healing Ointment:
- After cleansing your face, generously apply Healing Ointment to all treated areas. Ensure that you create an occlusive barrier by covering the skin thoroughly.
- Purpose of the Occlusive Barrier:
- The occlusive barrier is essential as it:
- Retains moisture in the skin.
- Protects the skin from environmental pollutants during the healing process.
- The occlusive barrier is essential as it:
- Managing Bleeding:
- It is normal to experience “pin-point” bleeding; this may appear more pronounced than it is due to the healing process.
- If bleeding occurs, gently blot your face with a clean cloth or gauze.
- Important: DO NOT RUB your skin under any circumstances, as this can cause further irritation.
- Reapplication of Healing Gel:
- Reapply the Healing Ointment as needed to ensure that the treated area does not dry out. Keeping the area moisturised is vital for optimal healing.
Avoidance Guidelines Post-Treatment
To ensure optimal healing and minimise complications, please adhere to the following guidelines:
- Physical Activity:
- Avoid any exercise, gym workouts, or other strenuous activities for at least 4 days following the treatment.
- Environmental Conditions:
- Steer clear of hot environments, including saunas and swimming pools, as these can irritate the treated area.
- While you can shower, avoid hot water and steam. When showering, wash your hair behind you to prevent shampoo from coming into direct contact with the treated area.
- Skin Care:
- Do not “pick at” or aggressively scrub the skin. Allow the skin to gently exfoliate naturally during the washing process.
- Sleep Position:
- Avoid sleeping flat. For the first 2-3 nights, continue to sleep with your head elevated on pillows (keeping your head above heart level) to help minimise swelling.
- Sun Exposure:
- Avoid direct sun exposure during the healing process.
- Do NOT apply sunblock for the first 4 days of healing. Instead, wear a protective hat when outdoors for the first 2 weeks.
- Irritants:
- Avoid exposure to dirty or dusty environments, as well as perfumes and hairsprays on the treated areas to prevent irritation.
POST TREATMENT DAYS 4-7

DO NOT apply makeup to the treated area until your skin has been reevaluated by your physician.
Healing
- Healing Process:
- Each client may experience varying degrees of swelling and redness over the next 5-7 days.
- Some may notice a mild sunburn-like effect, while others may experience significant swelling, redness, and itching, depending on their skin type.
- Grid marks on the face, which result from the laser fractionation, will also resolve within 5-7 days.
- Each client may experience varying degrees of swelling and redness over the next 5-7 days.
- Cleansing:
- Continue to cleanse the treated area with Cetaphil Gentle Face Wash for a duration of 7 days.
- Important: DO NOT scratch, pick, or rub the skin vigorously, as this can disrupt the healing process.
- Transitioning from Healing Gel:
- On day 4, you may discontinue the use of the healing gel to allow your skin to breathe.
- Once the skin is no longer sensitive, oozing, or raw, you may switch to a bland, fragrance-free moisturiser lotion or cream. We recommend CeraVe Face Moisturiser for this purpose.
- Makeup and Additional Products:
- DO NOT apply makeup to the treated area until your skin has been reevaluated by your physician.
- DO NOT use any other creams or lotions on the skin, except for CeraVe Face Moisturiser.
- Avoid sun exposure and refrain from using sunscreen or other moisturisers during the initial healing period.
- Hair and Fragrance Products:
- Be cautious with hair products (such as shampoo and hair spray) and perfumes to ensure they do not come into contact with the treated area.
Post-Laser Skin Pinkness
- Understanding Pinkness:
- Pinkness is a common and normal occurrence experienced by post-laser patients. It indicates the healing process and signifies the presence of newly formed skin.
- Duration of Pinkness:
- The intensity and duration of pinkness can vary significantly among patients:
- For some, it may last for several weeks.
- For others, it can persist for several months.
- A general guideline is that the longer the pinkness lasts, the better the treatment results may be, as it often correlates with increased collagen formation in the skin.
- The intensity and duration of pinkness can vary significantly among patients:
- Cautions Regarding Pinkness:
- If the pinkness becomes extreme or lasts longer than expected, it may indicate:
- Over-aggressive scrubbing or rubbing of the skin.
- Application of irritating substances or products.
- It is important to remember that this is new, sensitive skin, so you should exercise caution regarding what you apply to your face.
- If the pinkness becomes extreme or lasts longer than expected, it may indicate:
- Recommendations:
- Avoid any products that may irritate your sensitive skin, and consult your healthcare provider if you have concerns about persistent pinkness or any other symptoms.
AFTER 1 WEEK

Use sunscreen with a high SPF on any exposed skin if you must be outdoors
Post-Treatment Guidelines
- Resuming Activities:
- After the first week, you may resume most activities, excluding sun exposure.
- Restricted Treatments:
- DO NOT undergo waxing, microdermabrasion, exfoliations, or light peels over the treated area for a duration of 3 months from the day of treatment.
- Sun Exposure:
- Avoid direct sun exposure or tanning for at least 4 weeks following your treatment.
- Once your skin has healed and you have received clearance from your doctor, you may begin to wear makeup.
- Makeup Recommendations:
- If you choose to wear makeup, mineral makeup is recommended as it is typically gentler on sensitive skin.
- Sun Protection:
- It is essential to apply a sunblock daily to help prevent any discolouration issues that may arise from both direct and indirect sunlight exposure.

Margie J. Endrina, CEO, MJ Exposé Health & Beauty
By adhering to these pre- and post-treatment guidelines, you’re actively supporting your skin’s healing and enhancing the long-term benefits of CO₂ laser resurfacing.
Remember, every individual’s skin heals differently, so follow your healthcare provider’s advice for any specific needs or concerns. With the right care, you’ll enjoy radiant, refreshed skin that reflects the power of this transformative treatment.